I bought my house before the pandemic really hit hard in Tennessee in January of 2020. I am beyond grateful that I bought when I did! It was right before the market got really crazy, and I had space and a yard to keep myself busy while we were locked up at home. My house is in one of the more historic neighborhoods in Knoxville, and was built in the late 80’s. It was mostly remodeled before I purchased, but one of the biggest improvements I knew I wanted to make immediately was to open up the kitchen and put in a bar top. I am extremely blessed that my dad is an engineer and has a passion for projects like this! So, for my 30th birthday this year I asked him to help me with this major project as my gift. Follow along on how our process went, and check out the progress pictures along the way!
Planning
Again, my dad is the best person ever for this type of job! He is an engineer, and even built houses as a career for a few years. With as detail oriented as he is, along with his knowledge base, I did very little planning on my own. We went through some different design ideas together, and settled on the final look I was going for. I wanted to completely tear out two walls, add a bar top that also had counter top space, and have the two tops be concrete. My dad went to work on the specifics of what I dreamt up, and then we took off!
Materials
The main materials we needed were cabinets and the bar tops themselves. For the cabinets, we chose a pretty basic option that you can find at Home Depot or Lowes. They come without any hardware, so you can find your own to match the rest of your kitchen! Dad found an online company where he purchased the molds and materials for the concrete countertops. He poured both countertops himself and sealed them without a lot of hassle. Of course, there’s always a learning curve with at home projects. But, overall we had a pretty easy time with these two pieces.
Because I wanted concrete countertops, I was going to need some serious reinforcement for that weight. This is where the engineering came into play! Dad built a wall to support the cabinets and countertops appropriately at his home shop. This is something I could have never done by myself, and he made it seem pretty easy. With the support wall, 2 countertops, and cabinets, we had everything we would need to install the bar itself. Now, it was time to move on to execution with the buildout!
Execution
In the planning process, we figured it would take about a week of straight work to get this project done. It was just going to be the two of us, mostly just my dad, working. Because I am extremely lucky, my dad was able to take an entire week of work off before my birthday to work on the bar! The schedule would be….
- Friday and Saturday: move electrical work to the new, appropriate places
- Sunday: off day!
- Monday: tear down 2 kitchen walls
- Tuesday: place new support wall
- Wednesday: install cabinets
- Thursday: install countertops
- Friday: finish drywall and detail work
Now, clearly, I was not a huge help in a lot of the building of this bar. But, I did want to help as much as I could because it’s a big job! I was able to help most during the moving of the electrical work, along with the transport and set of the countertops.
One fun fact I want to share is that obviously moving 2 large concrete countertops is tough because they are extremely heavy! Also, my dad and I are two very different heights that support carrying different weights. So, to transport the heavy countertops we used these straps called Shoulder Dolly Moving Straps my brother had told us about. They were great! I highly recommend them if you’re ever moving anything heavy like this, or something like a washer and dryer.
Progress Pictures
I tried to take pictures as we moved through the project to look back on afterwards. Below is a sequence of those pictures. Enjoy!
Before any work:


This is what the kitchen and living space looked like before knocking out any of the walls. Nothing wrong with it, but I knew opening it up was going to make the look much more modern and open!
Electrical work:


It might not look like a lot, but the electrical work was the toughest mentally. Knowing which wires connect to what and where is safe to move them, all while not electrocuting yourself, is not an easy job! My dad has a lot of background with electrical work, and even then it took 2 days to get everything squared away.
Knocking out the walls:


This was my favorite day of construction! You can see instantly what a difference getting the two walls out made, even through the mess!
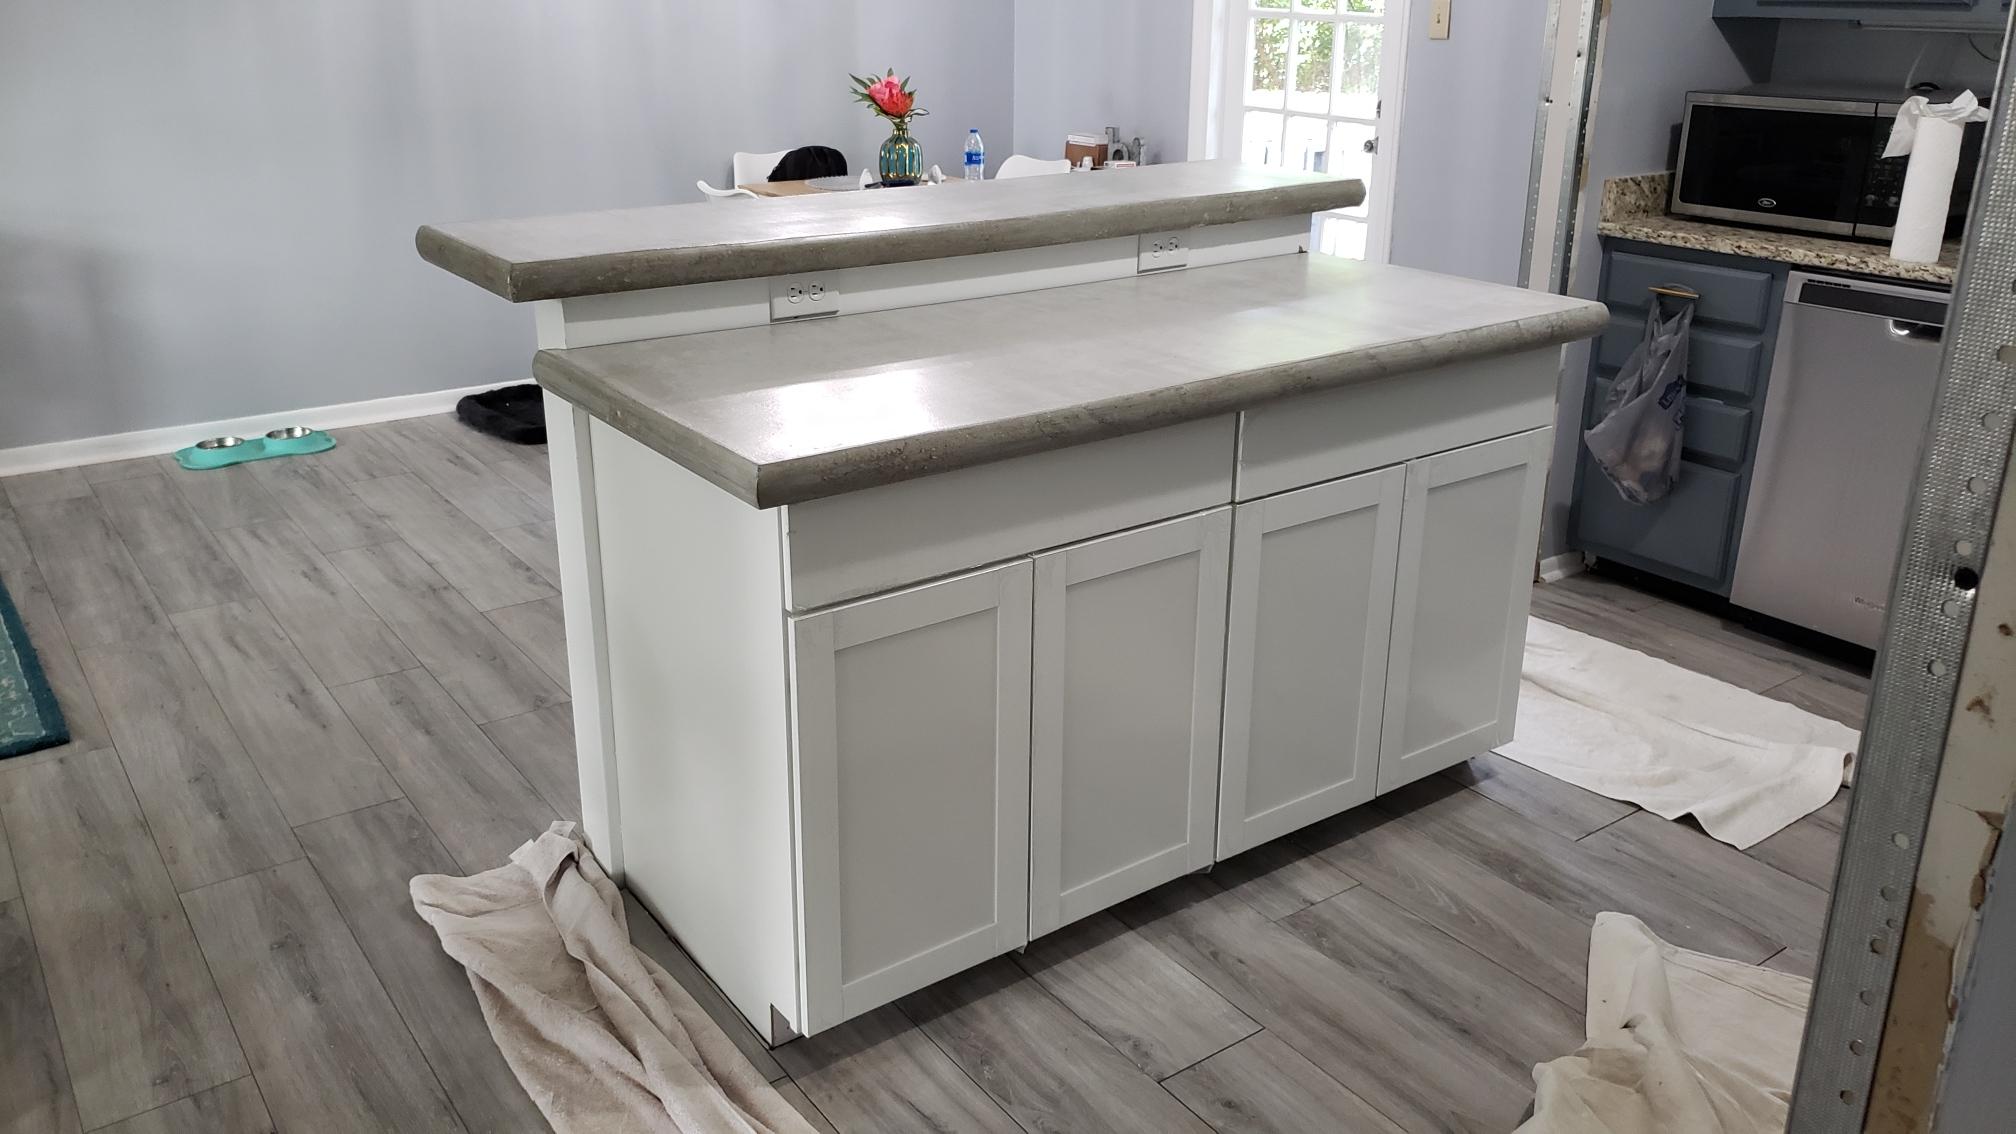
Installing the support wall, cabinets, and counter tops:


Last, but certainly not least, Dad installed the support wall followed by the cabinets. After those were set, we moved, and he set, the countertops last. All that was left was finishing touches of cleaning up the drywall and ceiling from cutting out the walls!
The finished product:


Dad was able to clean up the drywall and paint for the remaining walls, and I had professionals from Smith’s Handyman Service local to Knoxville come in to patch the ceilings. You can see that I have popcorn textured ceilings, and Smith’s has done work for me before. They do a great job with popcorn ceilings and handyman work in general if you’re ever in need in the Knoxville area!
Future Ideas
I am thrilled with how the kitchen bar project turned out! Again, I had an incredible resource with my dad and I would have never been able to tackle the project without him. My next home improvement project will be to tear up and replace the kitchen floor with tile, and I’ll be happy to share that adventure too!
Let me know below in the comments what home improvement projects you’ve tackled recently, and any that you have coming up that you’re excited about!